
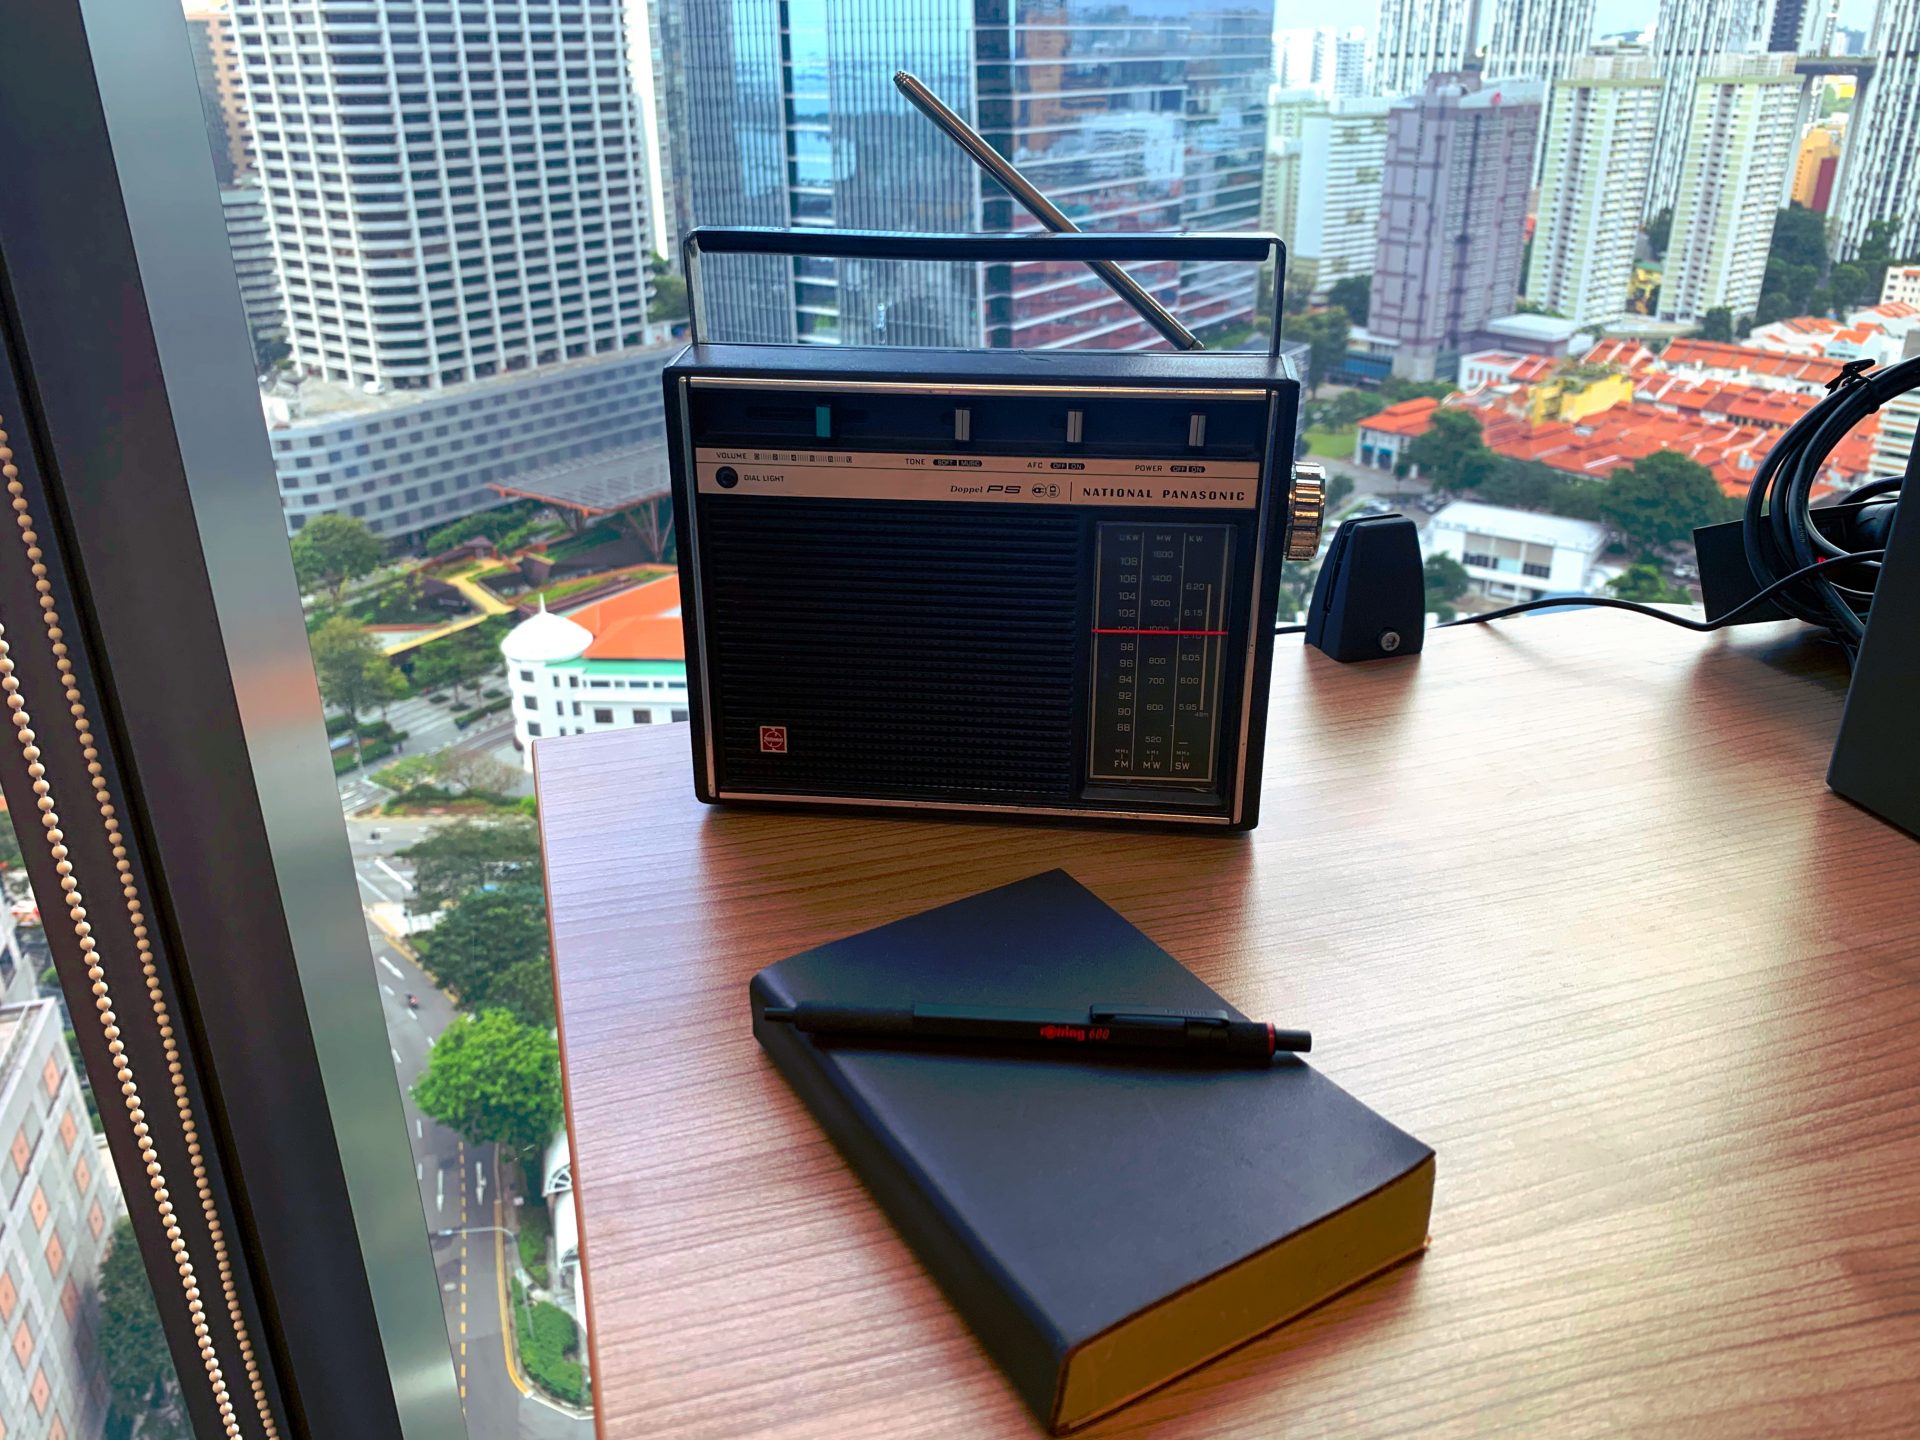
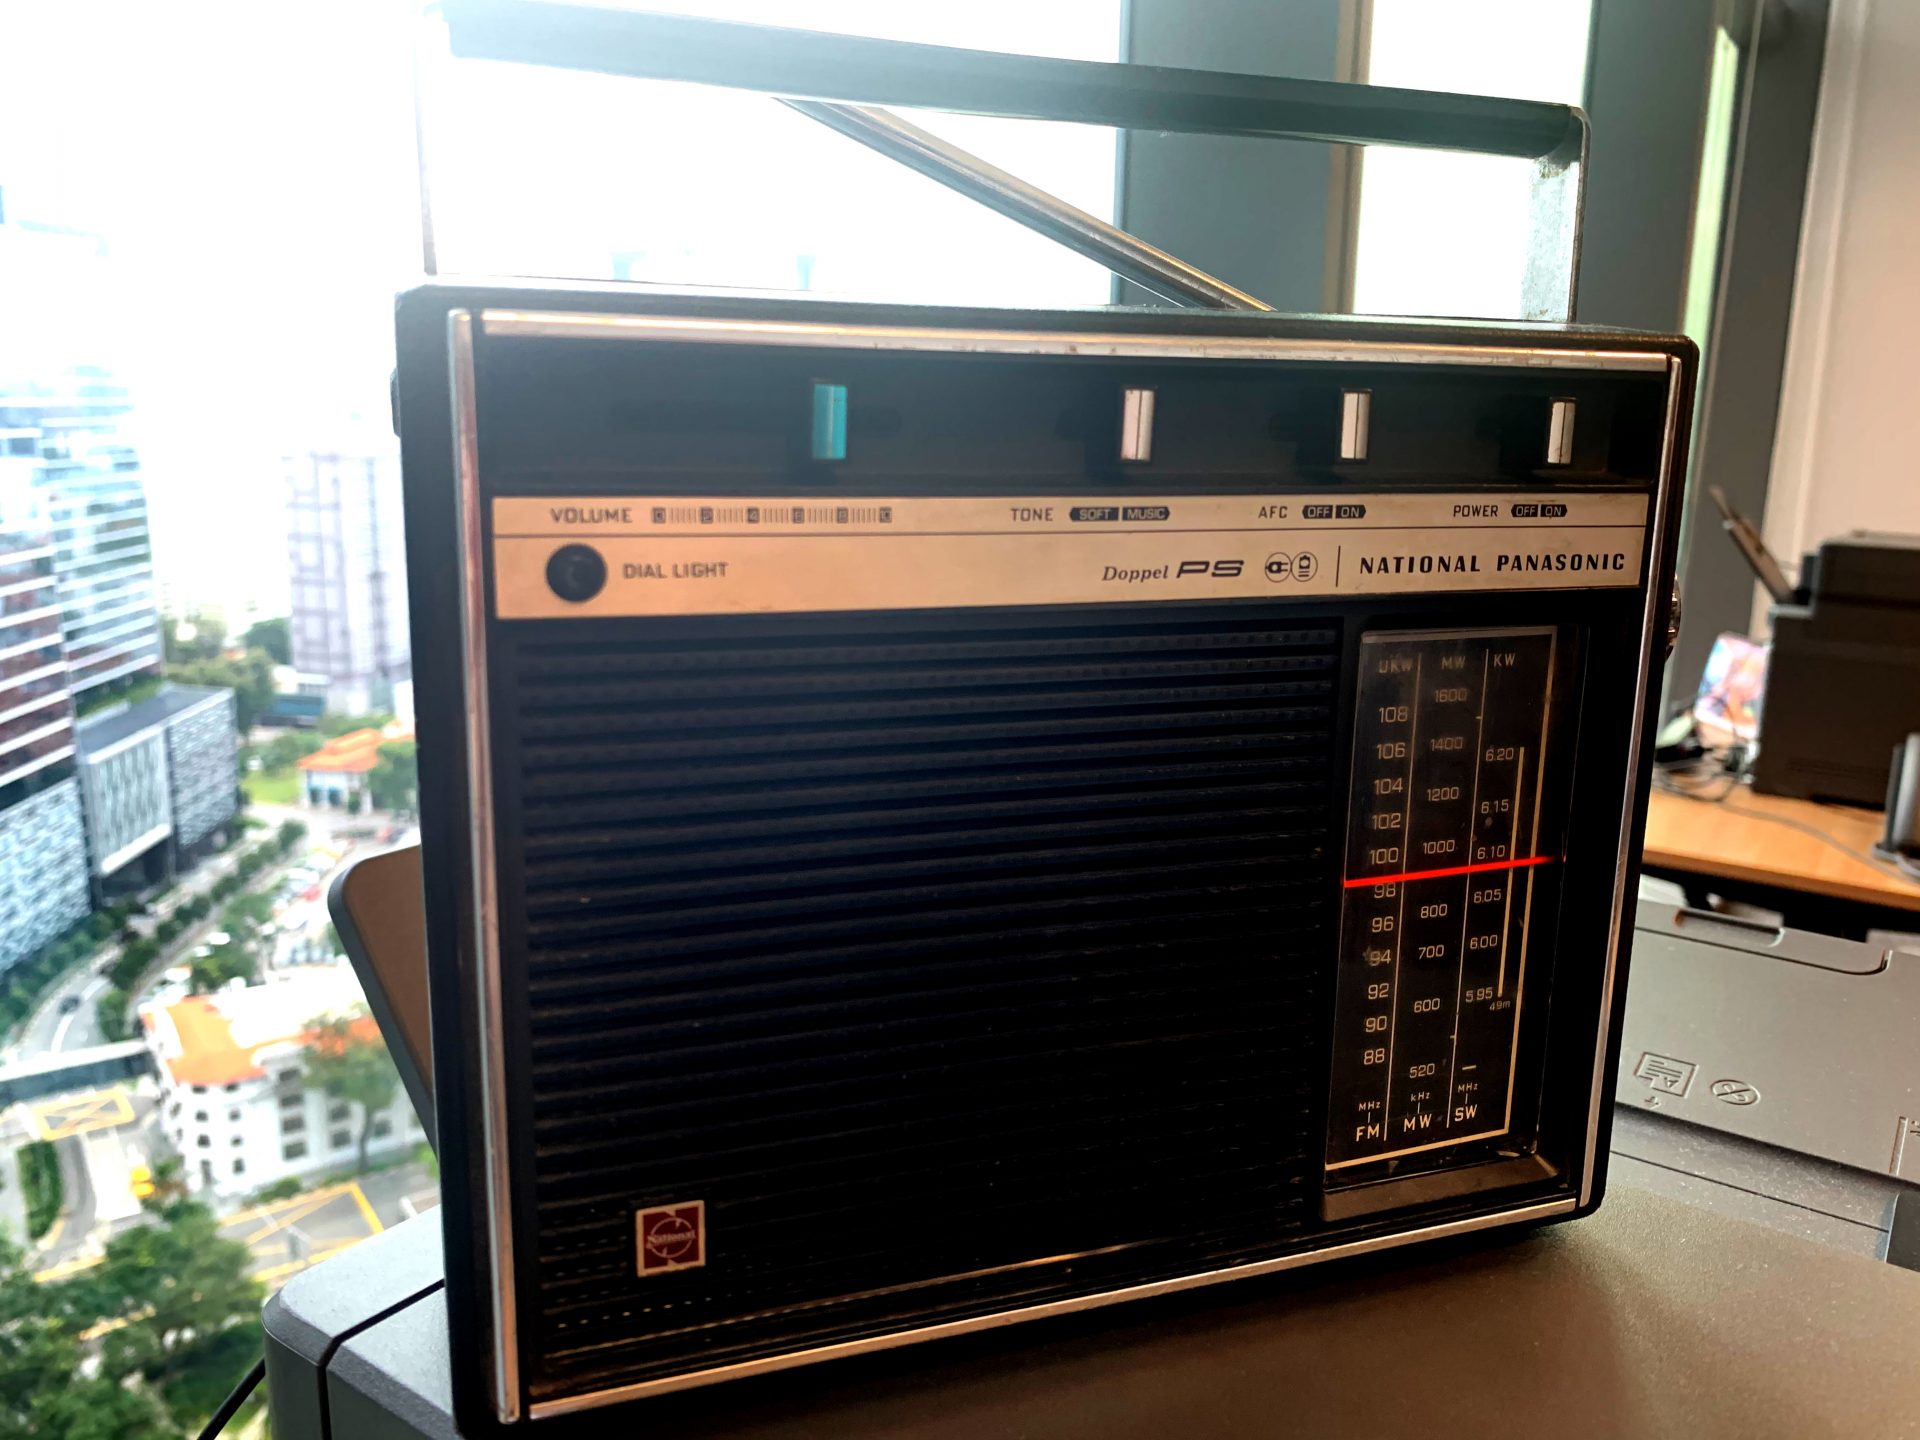
Remember those cracking noises from the speaker back in the 80s? Now is the time to get back in the DeLorean and bring the future to the past, or alternatively, the past to the future. Use Volumio and turn a broken radio into a multi-source system, capable of playing your podcasts, radios, local music files and Spotify. In addition, the device is visible on your local network and works as a WiFi speaker.
Panasonic2
Panasonic3

Panasonic4
Panasonic5
Panasonic6
Panasonic7
volumio6
volumio7
volumio8
volumio5
volumio4

volumio3
volumio2
volumio1
- Raspberry PI (at least model 3)
- Micro SD card
- Vintage radio (preferably broken)
- HiFiBerry HAT (HAT stands for Hardware Attached on Top)
- HiFiBerry HATPower adapter (barrel connector)
In our tutorial, we will explain how to:
- strip down your vintage radio
- install Volumio on your micro-SD card
- get you Raspberry PI ready with HiFiBerry
- setup Volumio and start streaming music
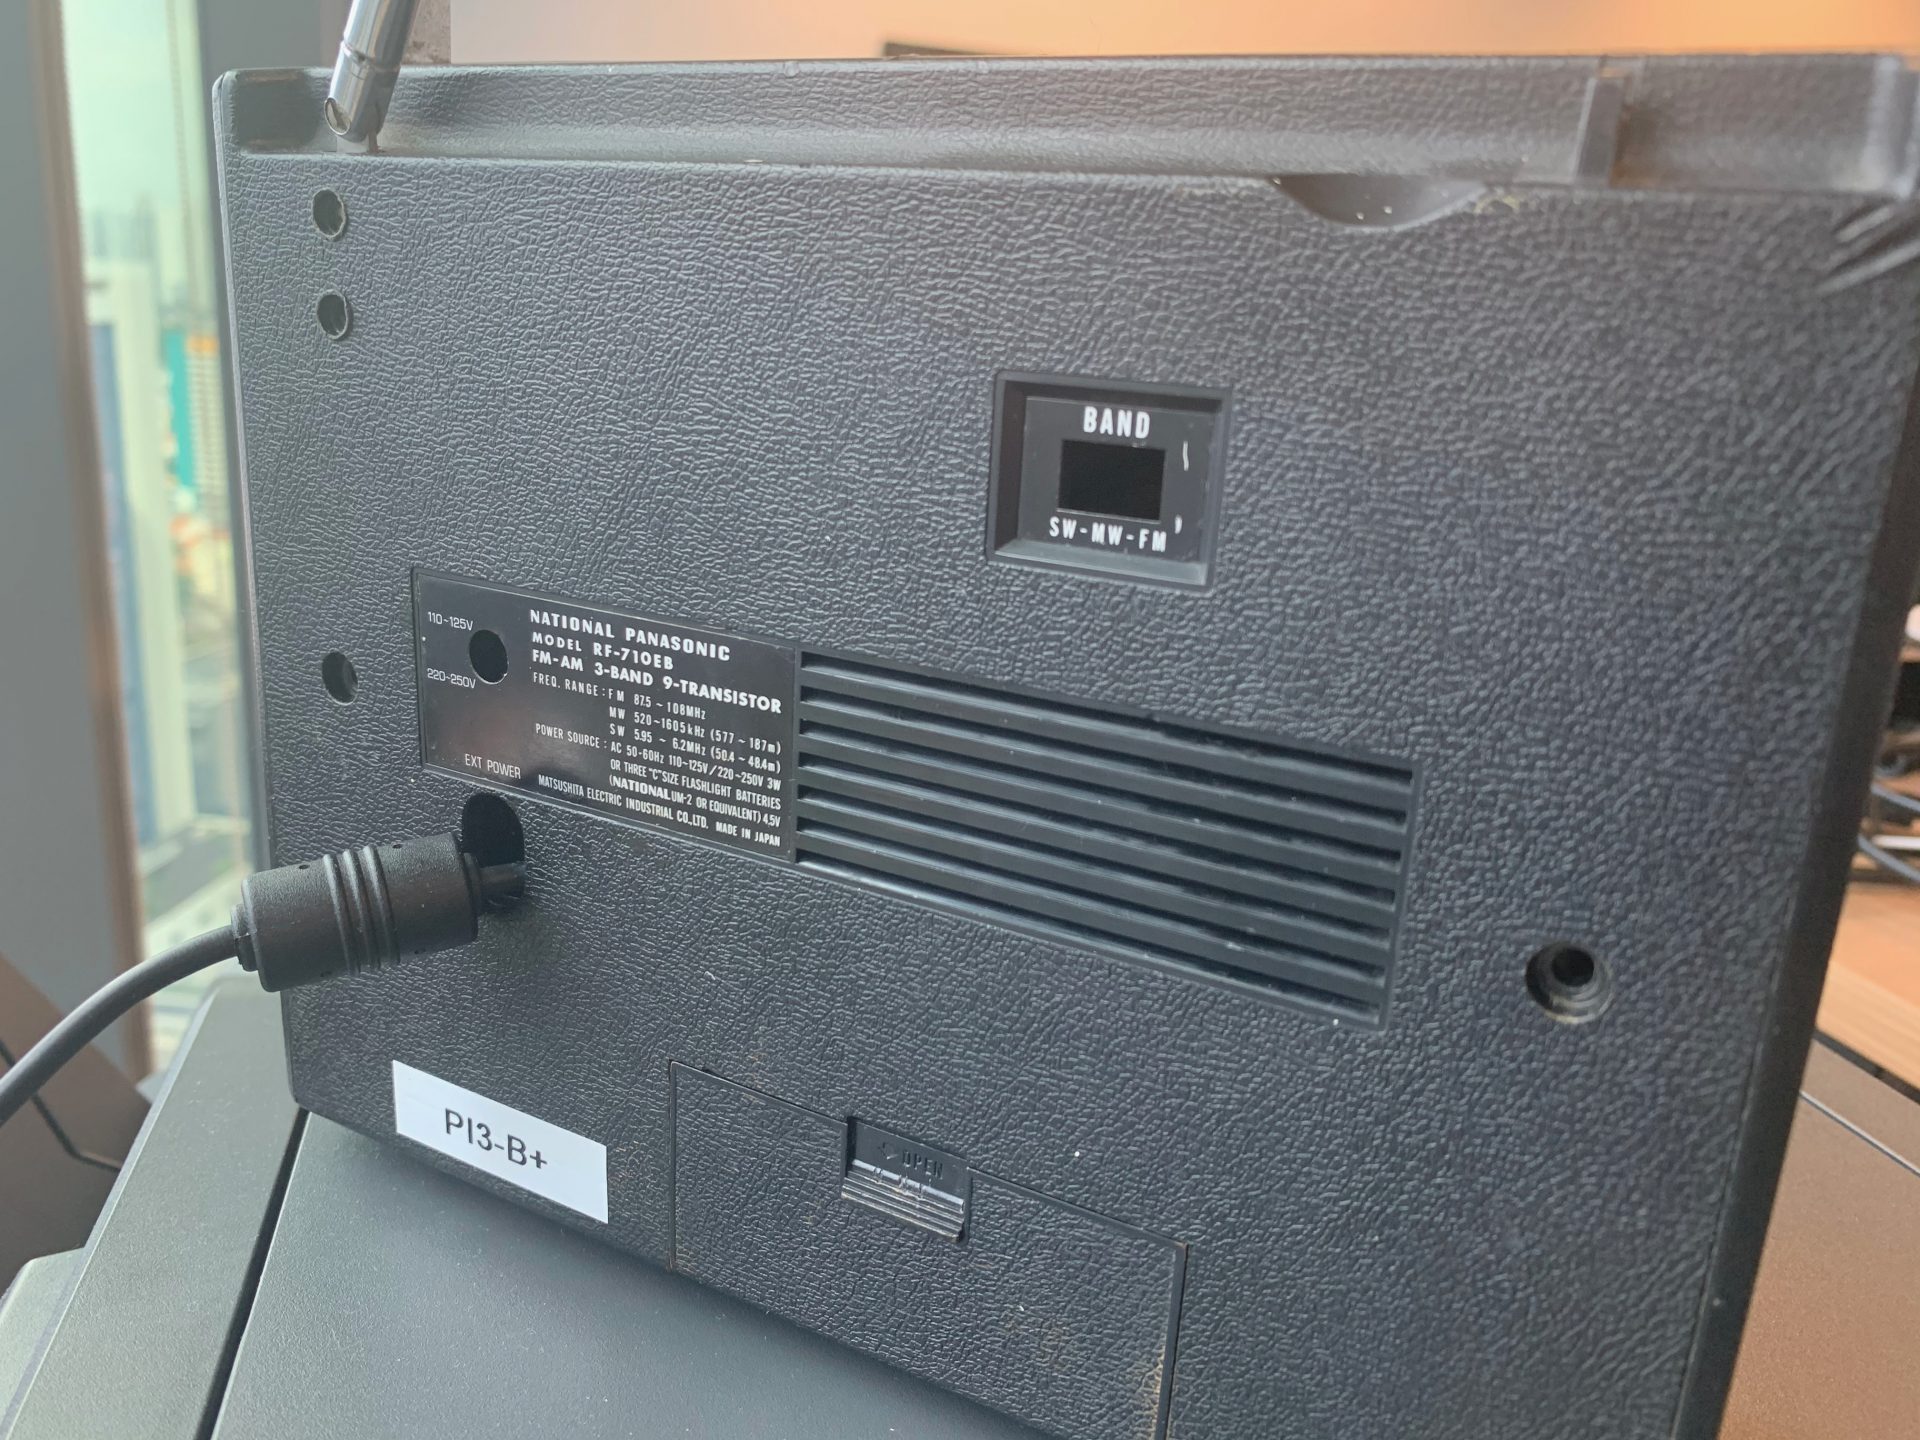
Step 1 – strip down your vintage radio
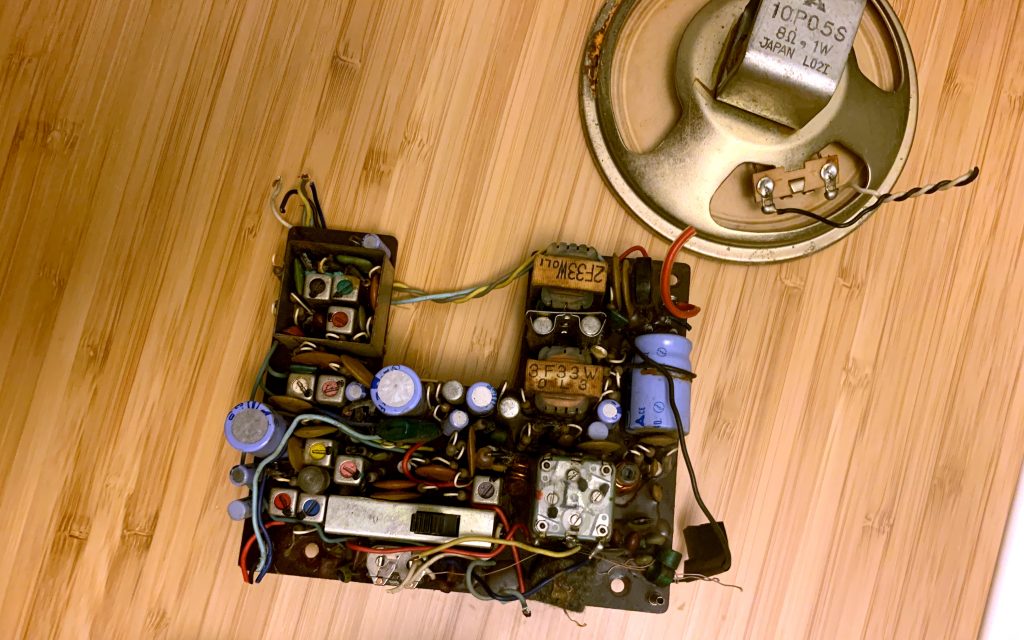
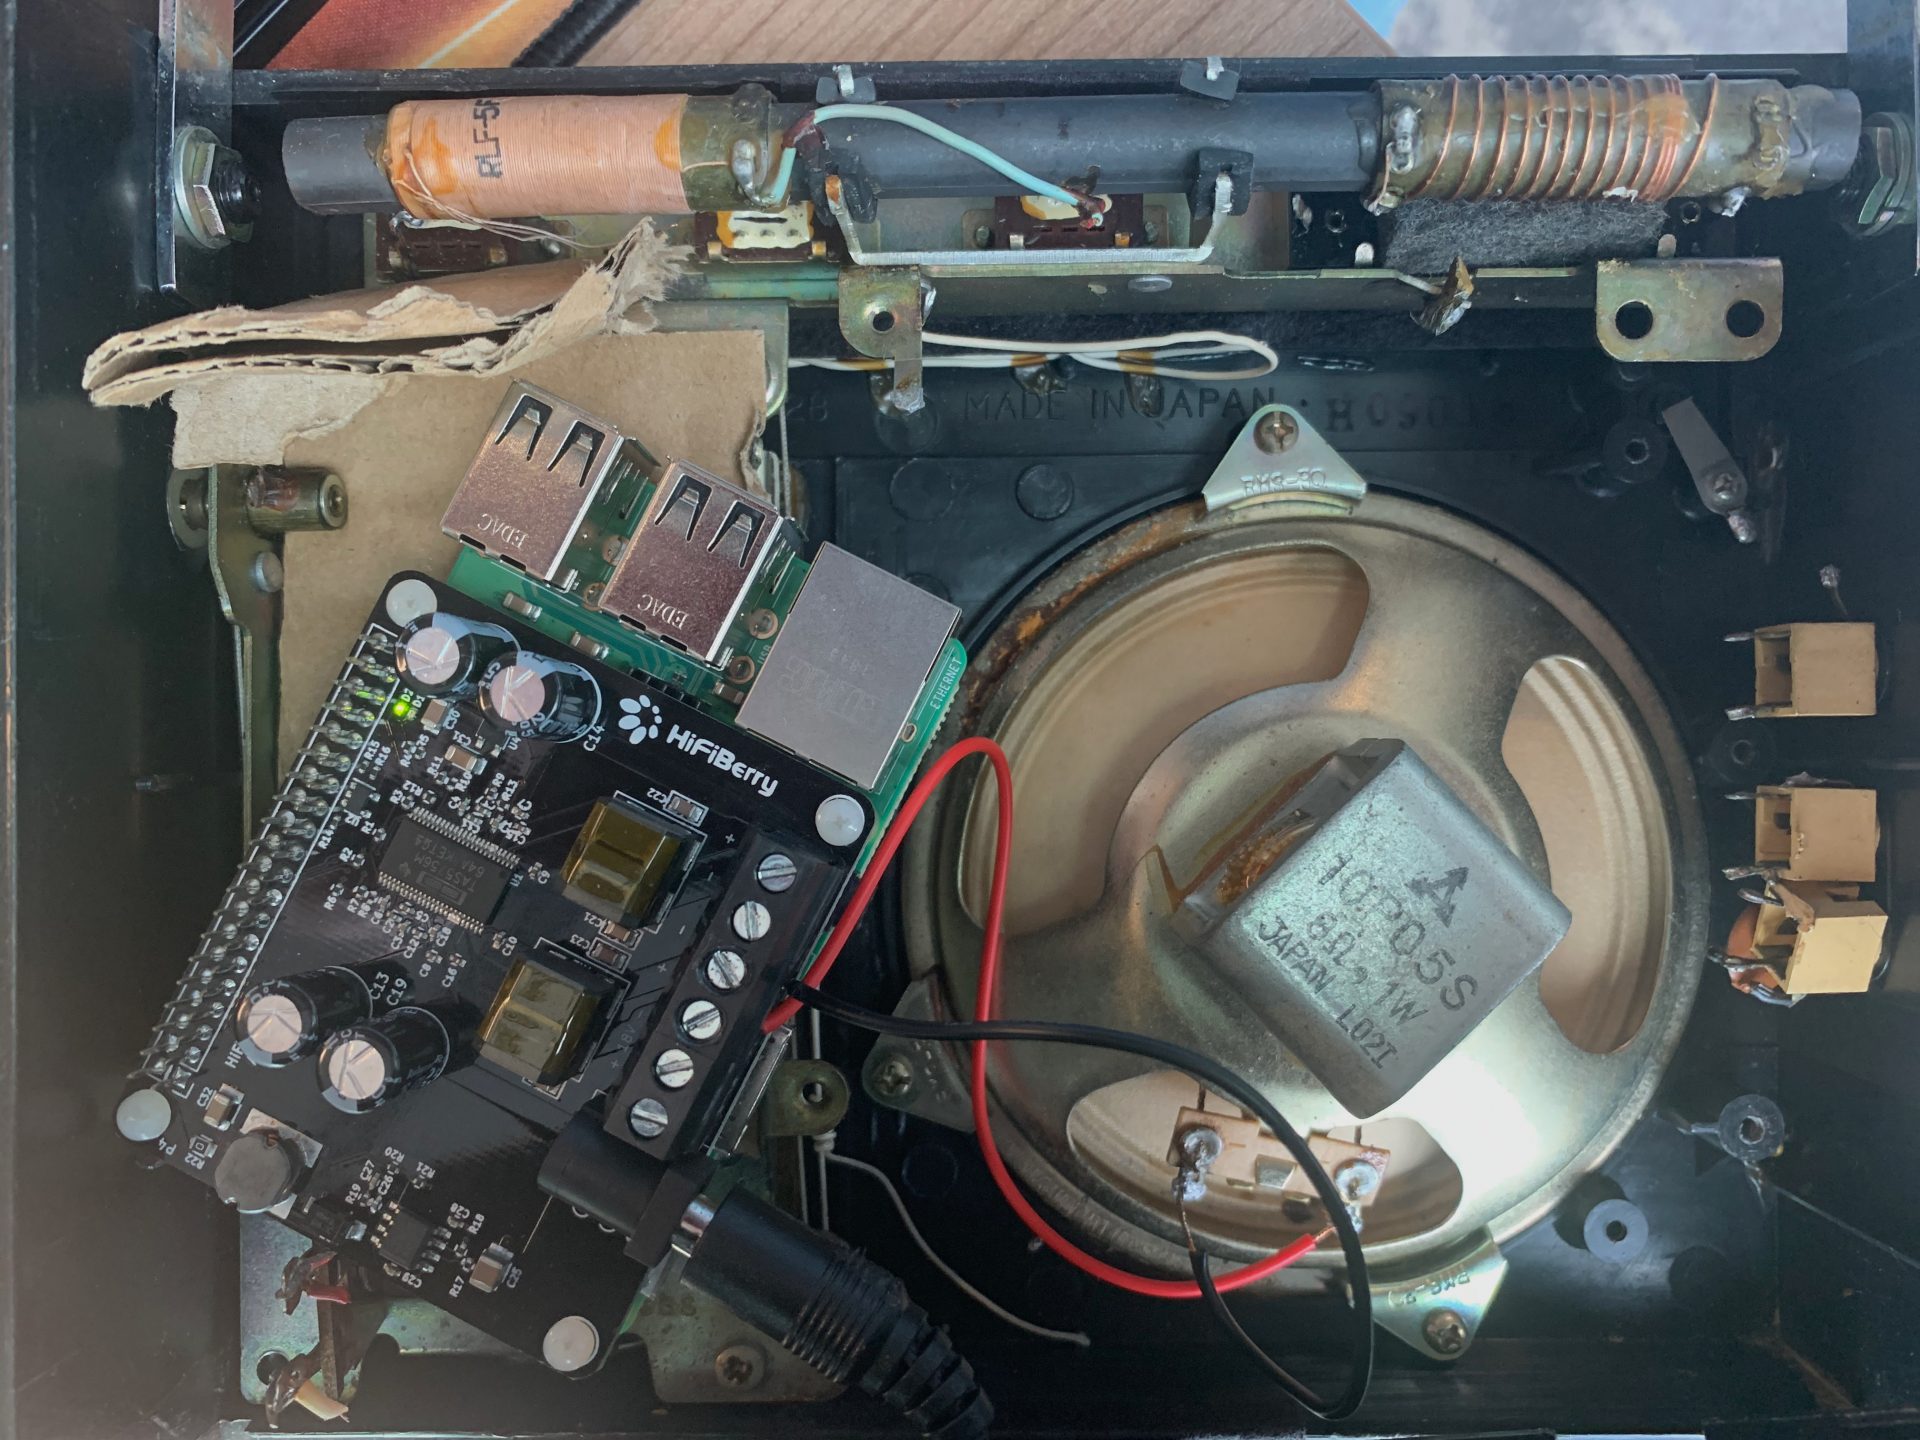
Since our goal is to recycle, I would really recommend to start from a broken radio. There is no need to destroy something which currently works. In my case, I have used an old broken Panasonic radio. As long as you can fit a Raspberry Pi in the case, you can chose the radio model you want. For cosmetic reasons, I decided to keep the frequency selection rotary encoder and the buttons (although they are no longer linked to any function). Apart from those, the only thing you need is actually the speaker(s), which will get connected to your Raspberry PI at a later stage. Take the opportunity to clean the case and remove all dirt and dust.
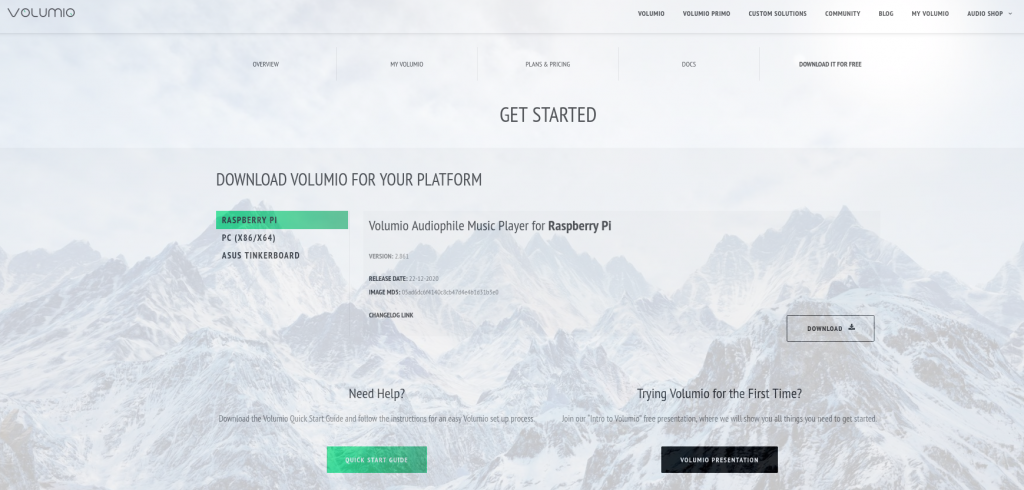
Step 2 – Install Volumio on your micro-SD card
Download the Volumio image from their website. Make sure to select the Raspberry PI image.
The image comes in a .zip format and you would need to unzip the file prior flashing it. If you are using Linux, you can use the unzip command from the terminal. The command is “unzip + <file name>”. In our case, the file is in the Downloads folder, so you need to type in:
unzip Downloads/volumio-2.861-2020-12-22-pi.img.zipMake sure that the file name matches the version you have downloaded. You can also use the auto-completion function from the terminal (tab) after typing volumio in the above command, to make sure that you are selecting the right file. The unzip command will unzip the file in your current directory: if you just opened the terminal and typed in the command, it is likely that the unzipped file is now located in your home directory ~.

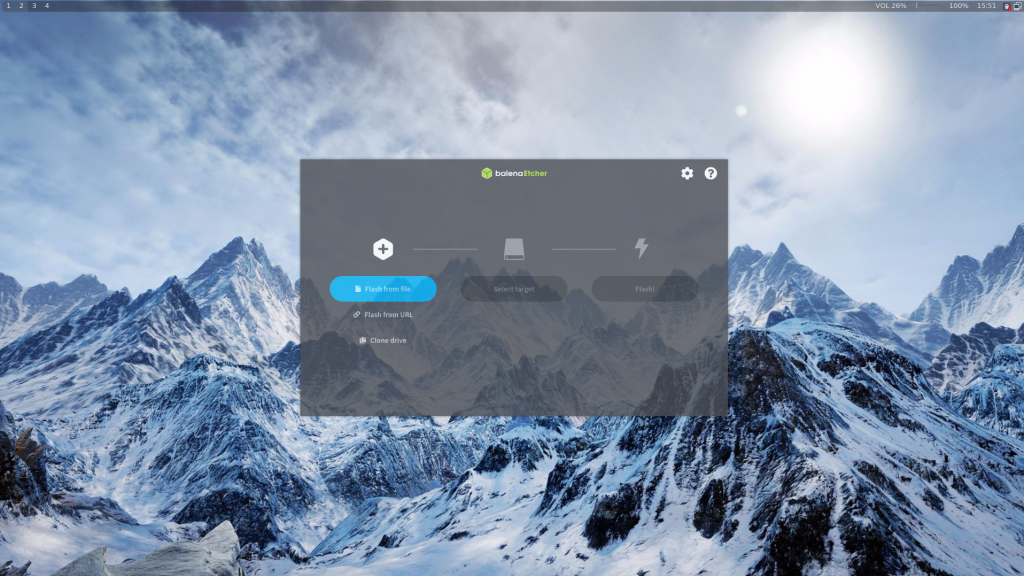
Use a software like Balena Etcher (mac OS, Windows an Linux compatible) to flash the image on your Micro-SD card.
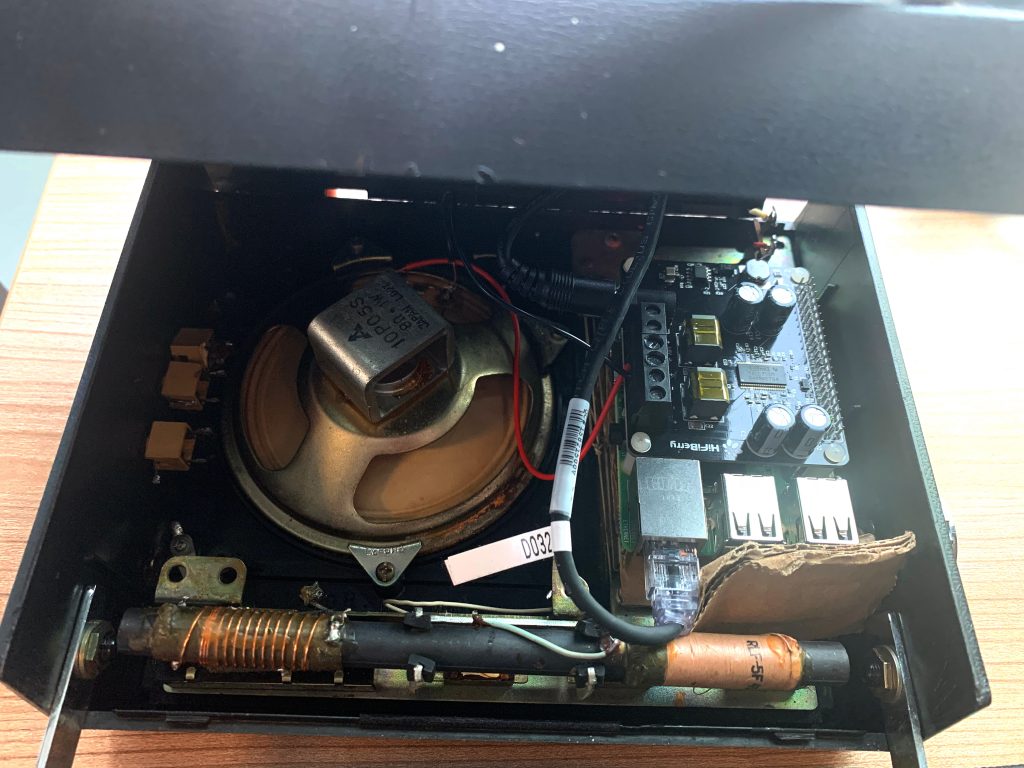
Step 3- Get your Raspberry Pi ready for installation into the case
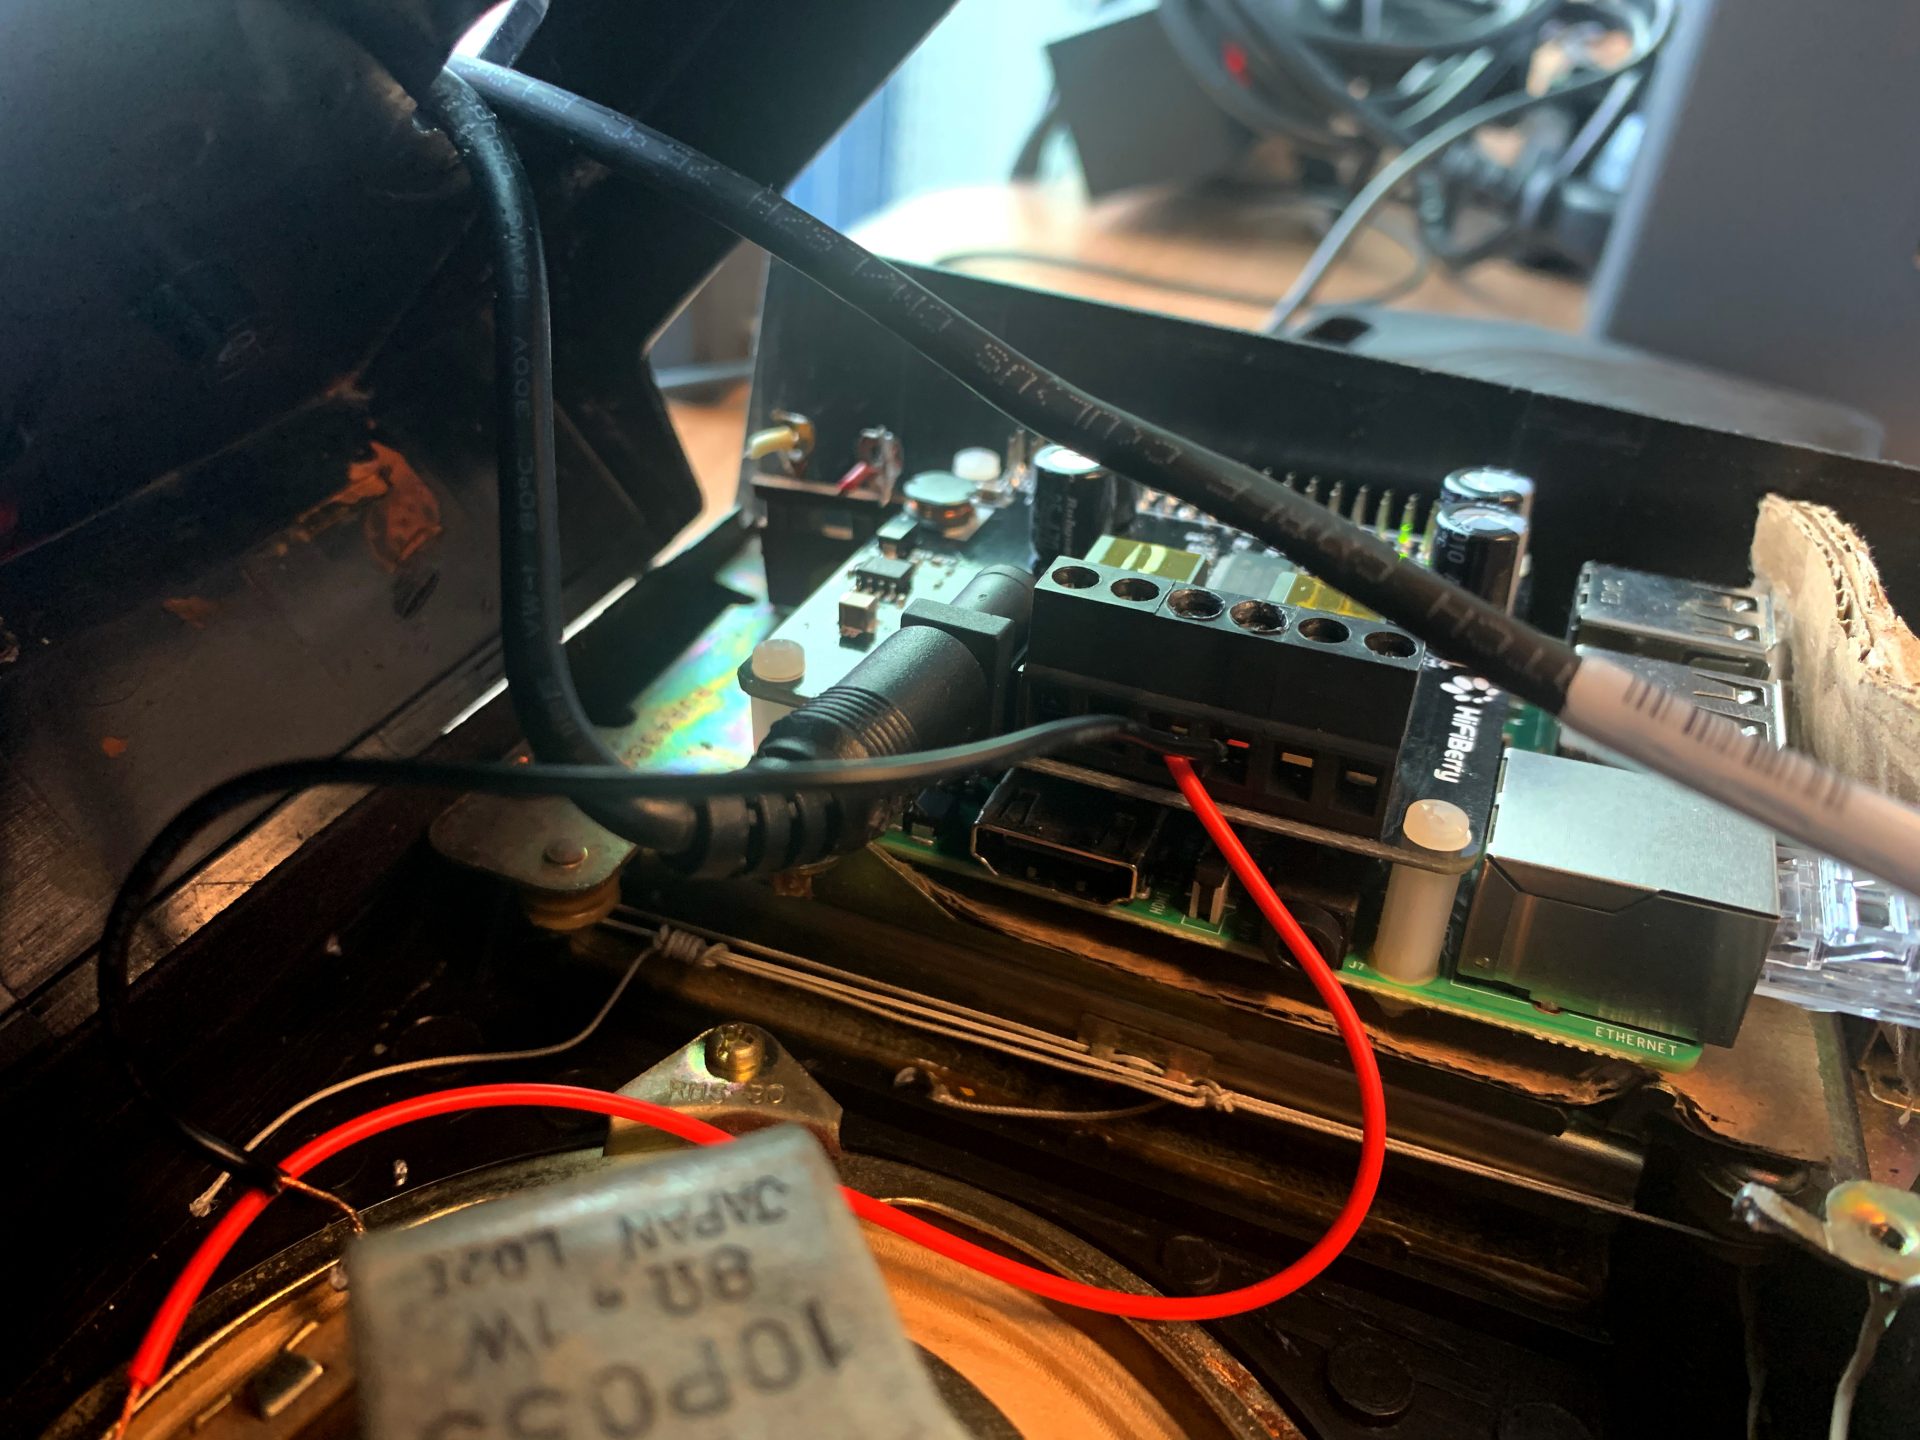
Pending on the speaker and connectors, you would need to use a different HiFiBerry board. You can refer to this video for additional information from HiFiBerry. For me, I had to go for the AMP2. This board requires an external power source, since it cannot be powered by the Raspberry PI. That being said, the HiFiBerry AMP2 board will power your Raspberry PI, so all you need is one power connector after all. I purchased mine from the HiFiBerry webshop.
The connection of the HiFiBerry on your Raspberry Pi is made via the GPIO ports. The HiFiBerry HAT is including all the required screws to have it securely attached to the PI. Once the HiFiBerry HAT is properly installed, insert the MicroSD card in the Raspberry PI. Do not plug the power adapter to your HiFiBerry HAT yet. First we need to connect it to the the speaker(s)…

if you also opted for the AMP2 board, you may want to follow the HiFiBerry instructions for your speaker connection.
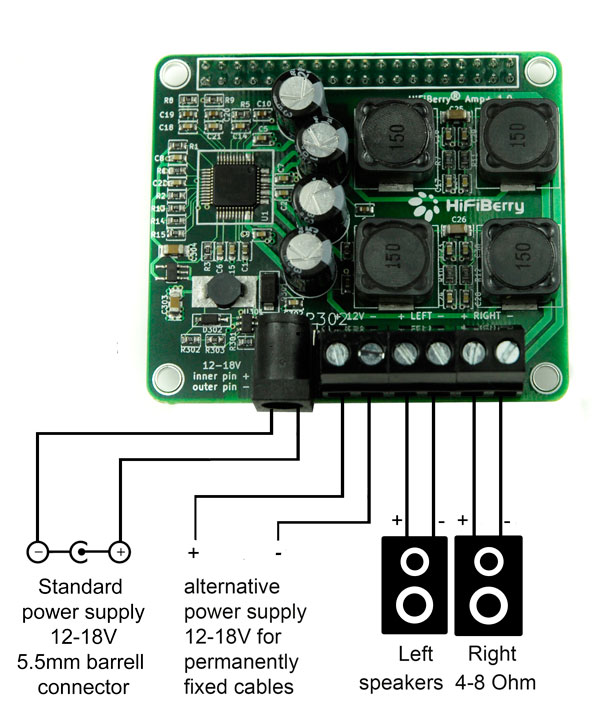
Use your iron solder to connect your cables to your speaker(s) as per the above instructions. Before you close the case for good, I would recommend to first test the system. Time to connect a network cable (can be removed at a later stage), barrel connector and power up your device.
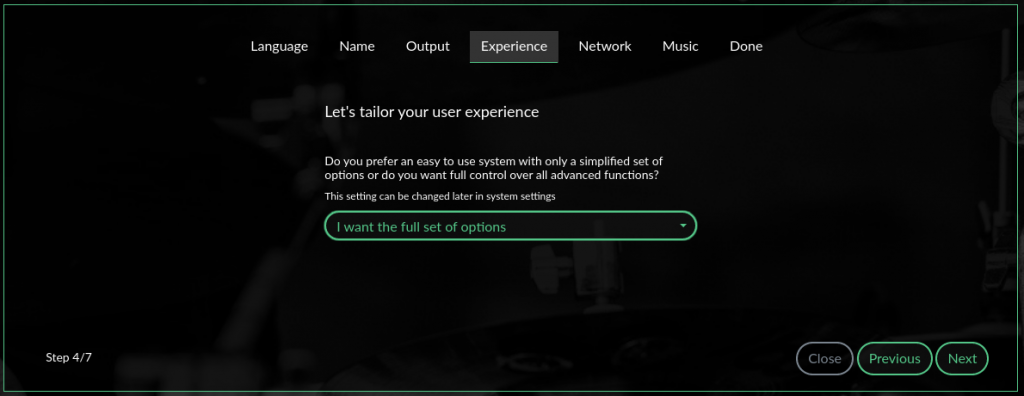
Step 4 – Setup Volumio
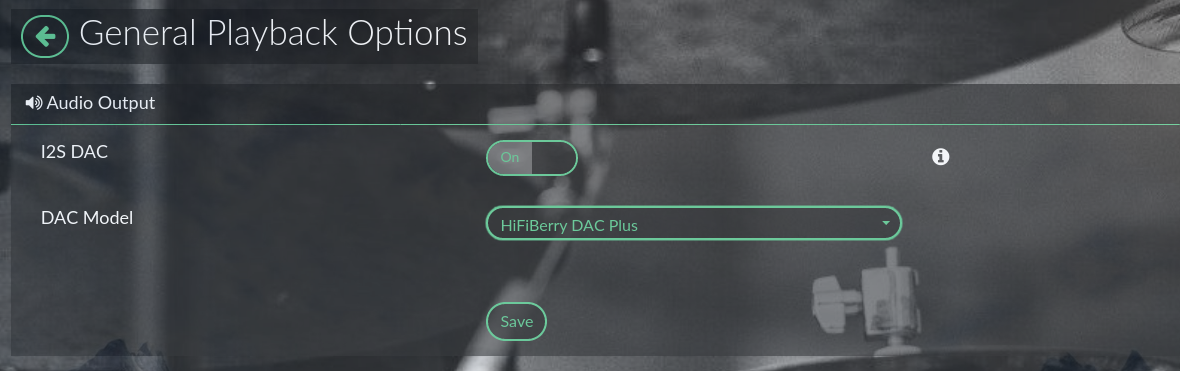
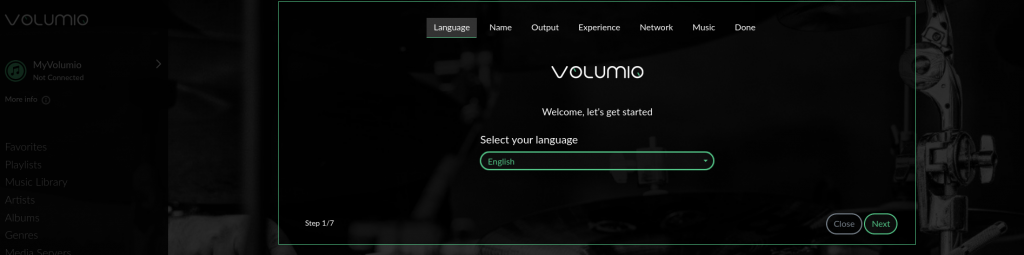
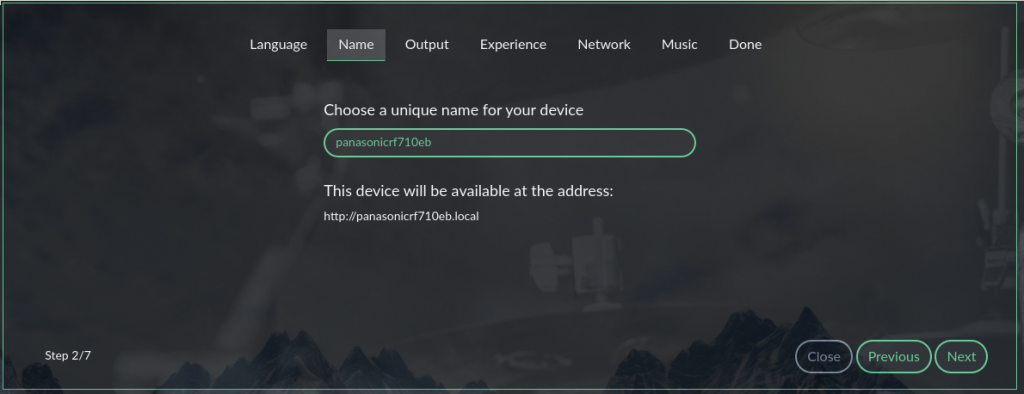
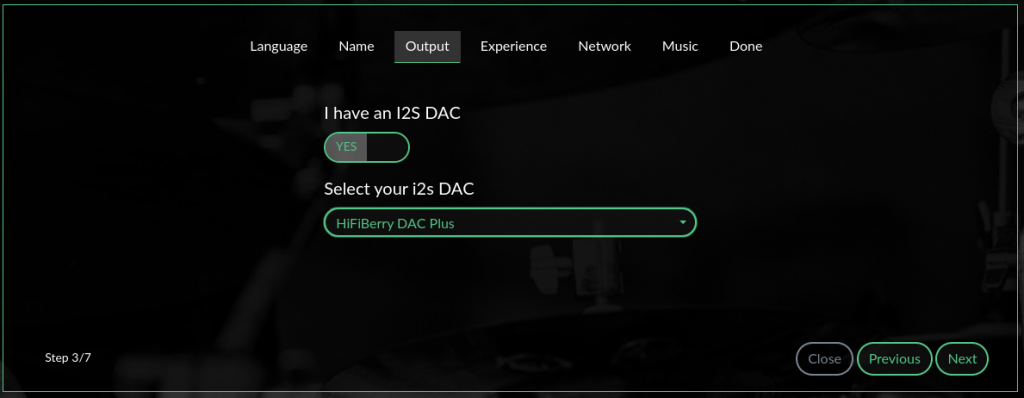
Your device is now running and you now need to configure Volumio. In short, you may want to setup a WiFi connection (so that you can get rid of the network cable) and to properly configure your HiFiBerry HAT.
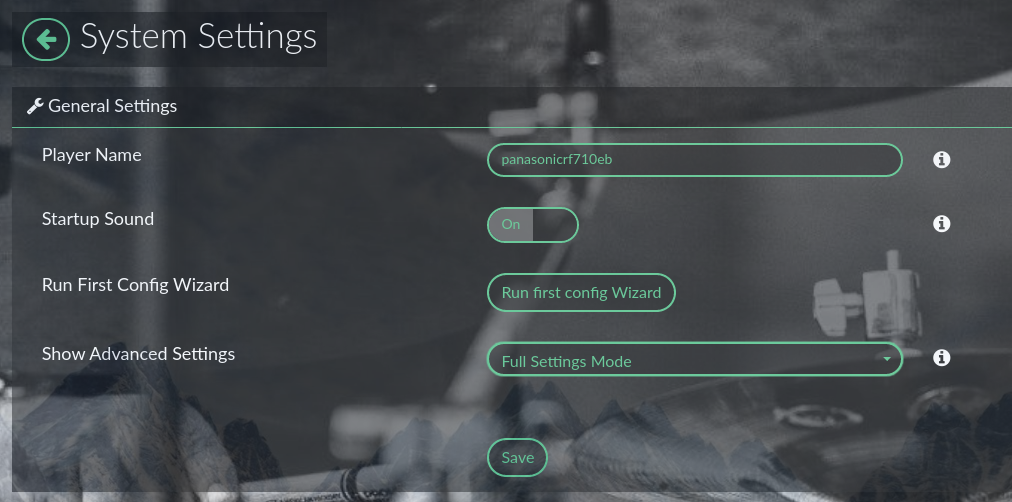
With your Raspberry PI up and running, go to your web browser and type in IP 192.168.211.1 or http://volumio.local. From this page, you can configure you device. You can easily set up your WiFi connection and your device name on the network.


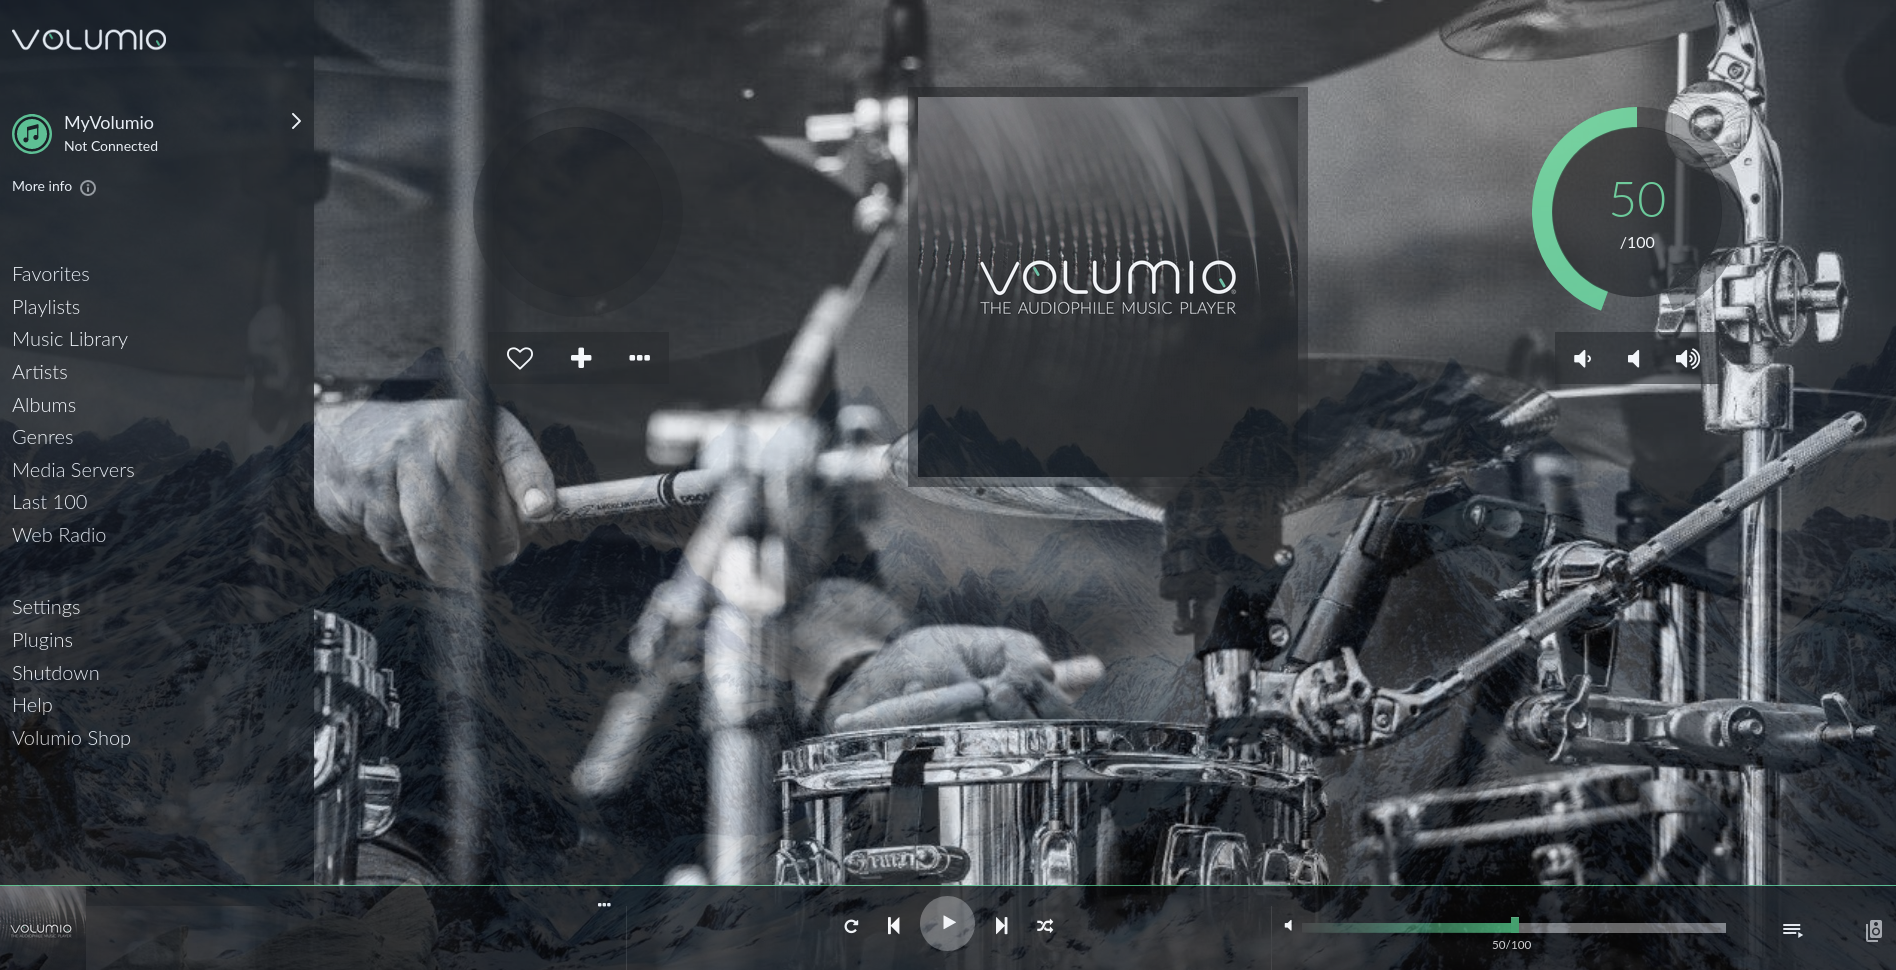
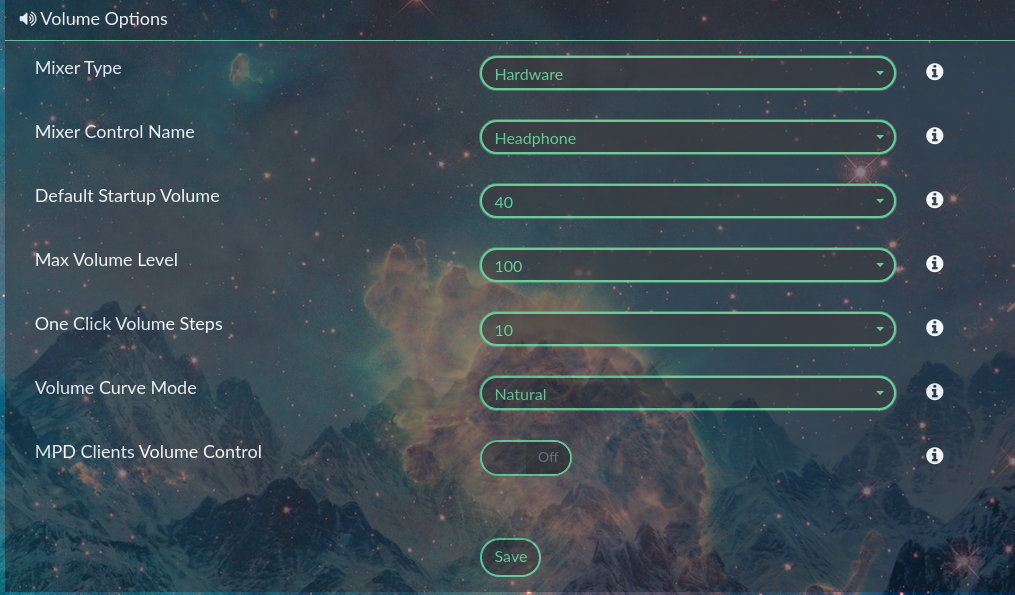
Please keep in mind that the HiFiBerry AMP+ is a pretty powerful amplifier, so if you do not want to damage your speaker(s) with the wrong settings, I would recommend to change the default startup volume to something like 40%. You can always change the volume while playing if this is not enough, but this can prevent your speaker(s) from being over-stressed by mistake. Change the default startup volume from the <Settings> menu, under <Playback options>.
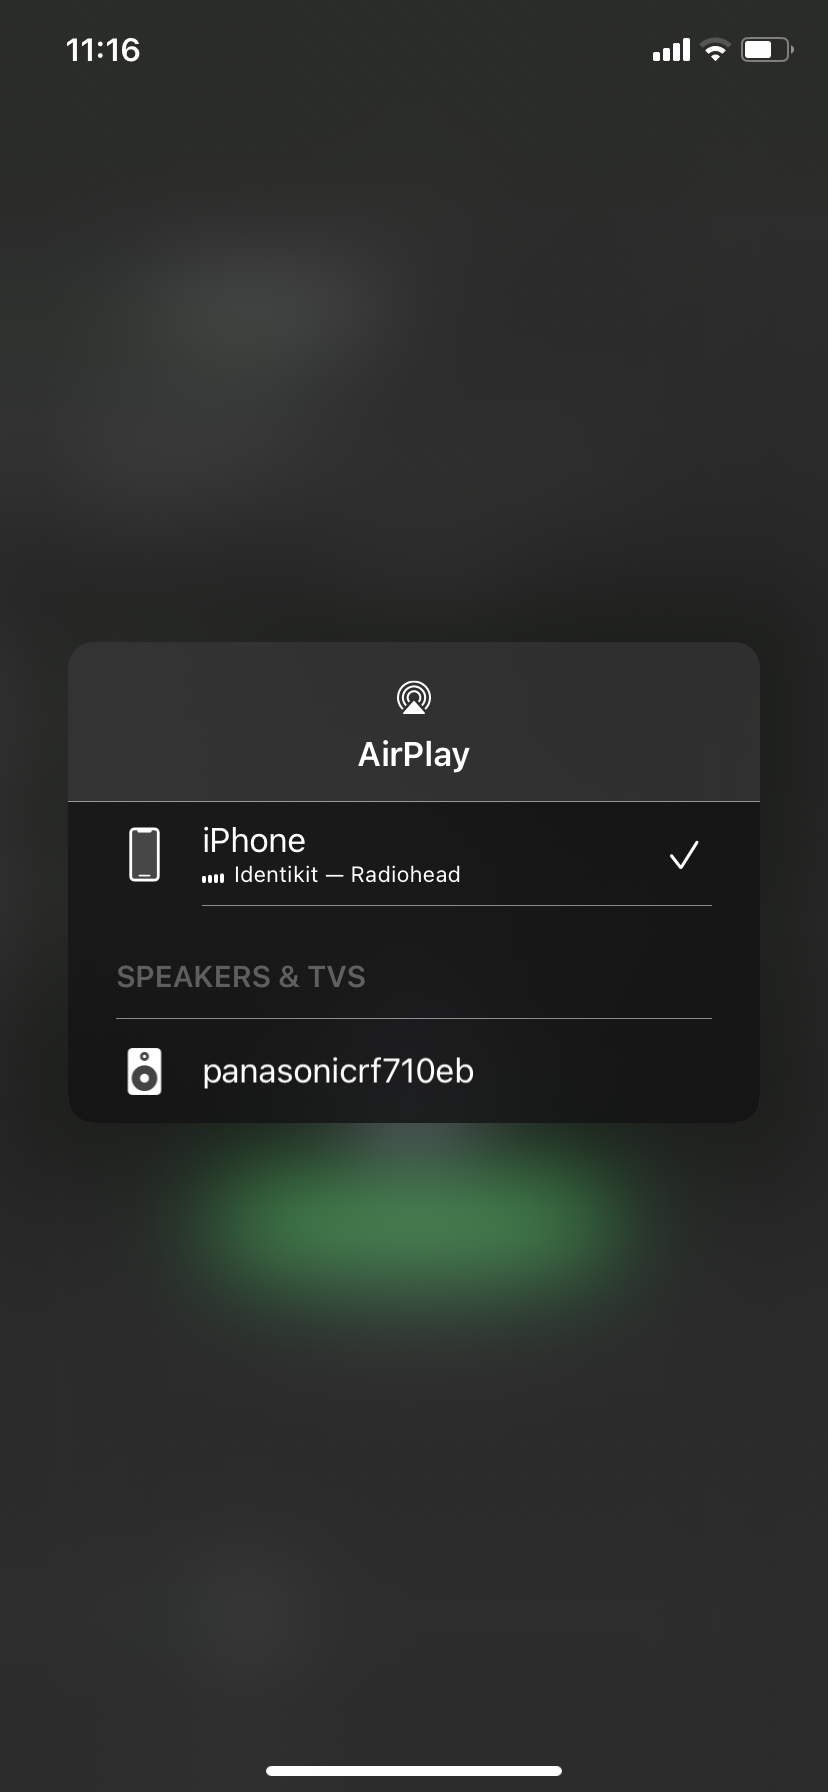
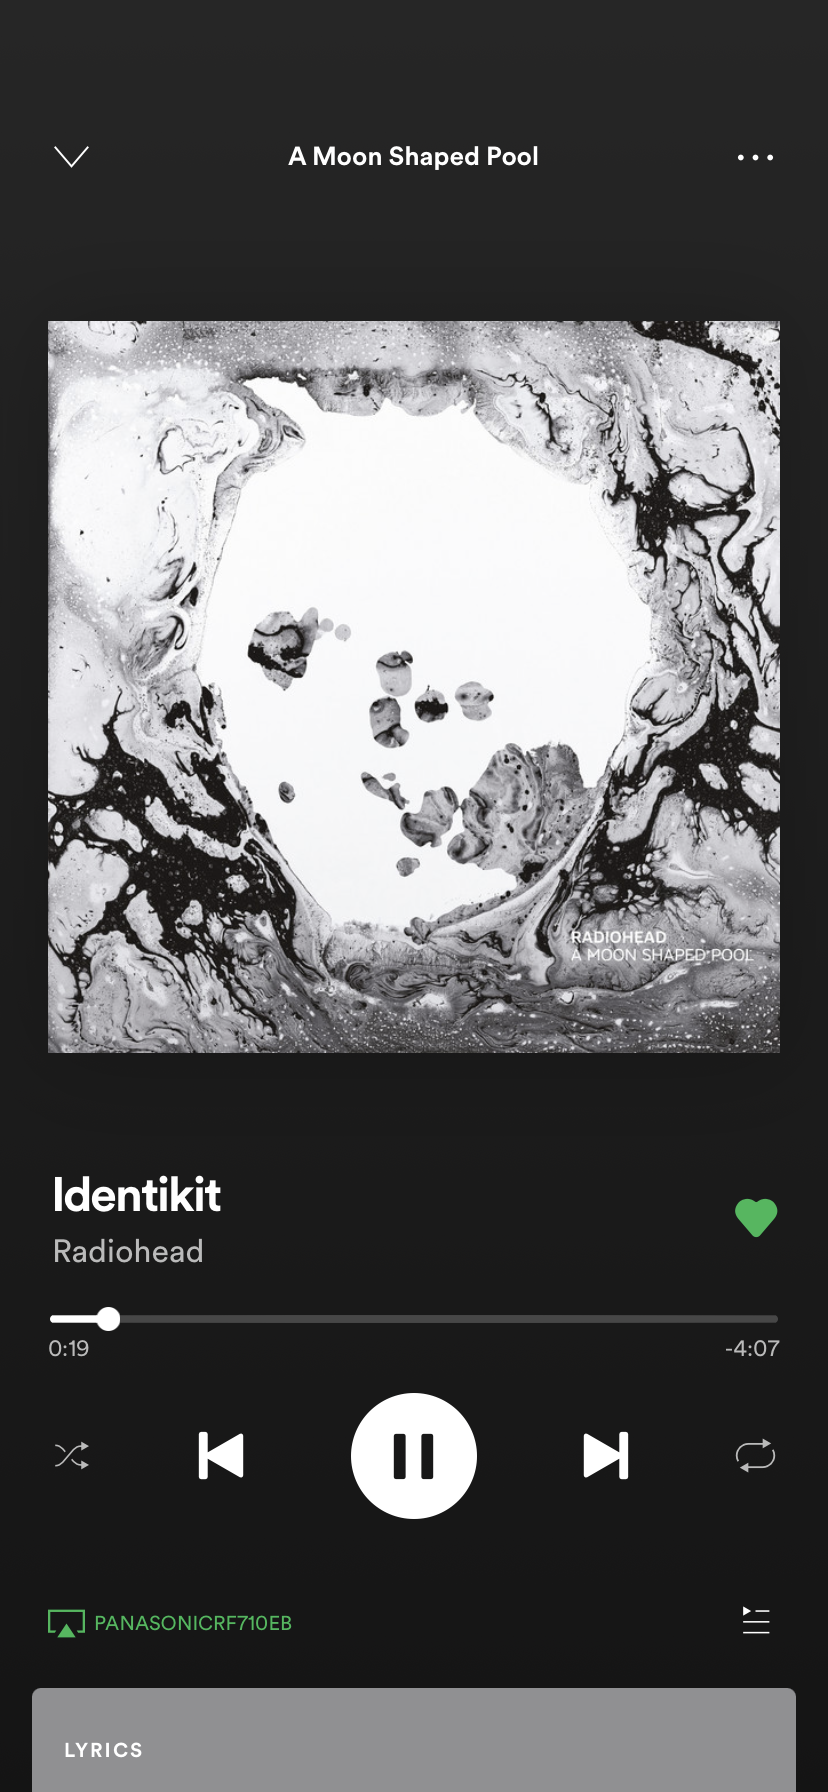
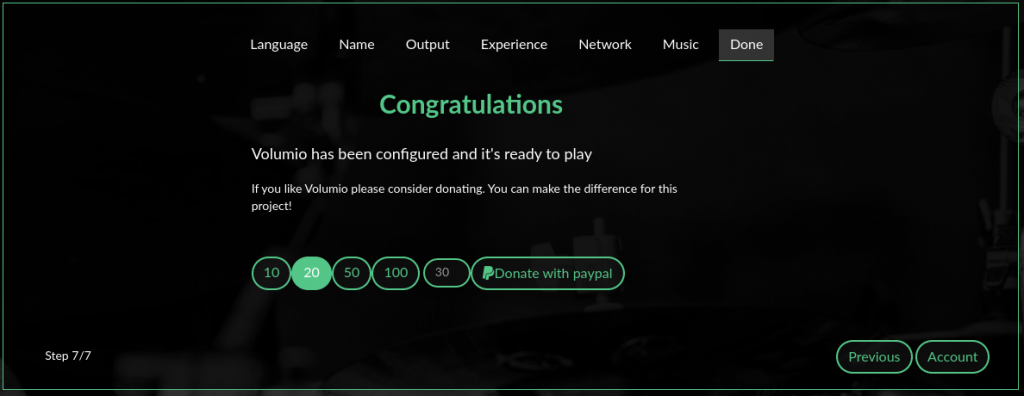
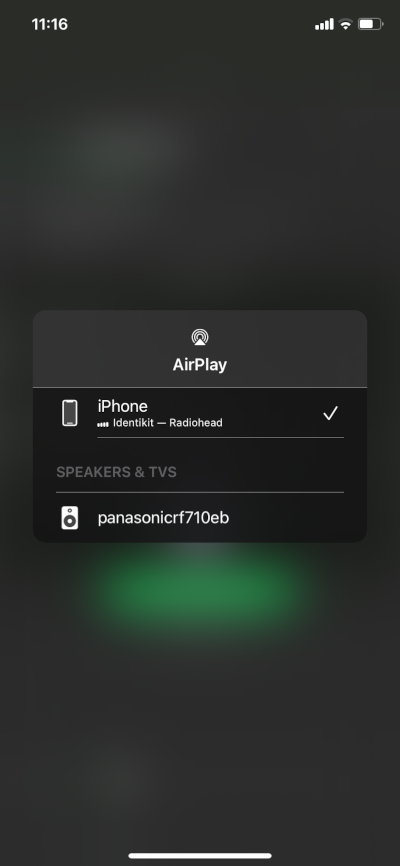
Congrats, you have successfully setup Volumio. Reboot the device now. Since you have setup your WiFi connection, you can now remove the network cable from the device. You can already check your connected speakers from your phone, your new device should appear under the AirPlay function (Iphone). If you select it, your music will be played on the Volumio speaker.

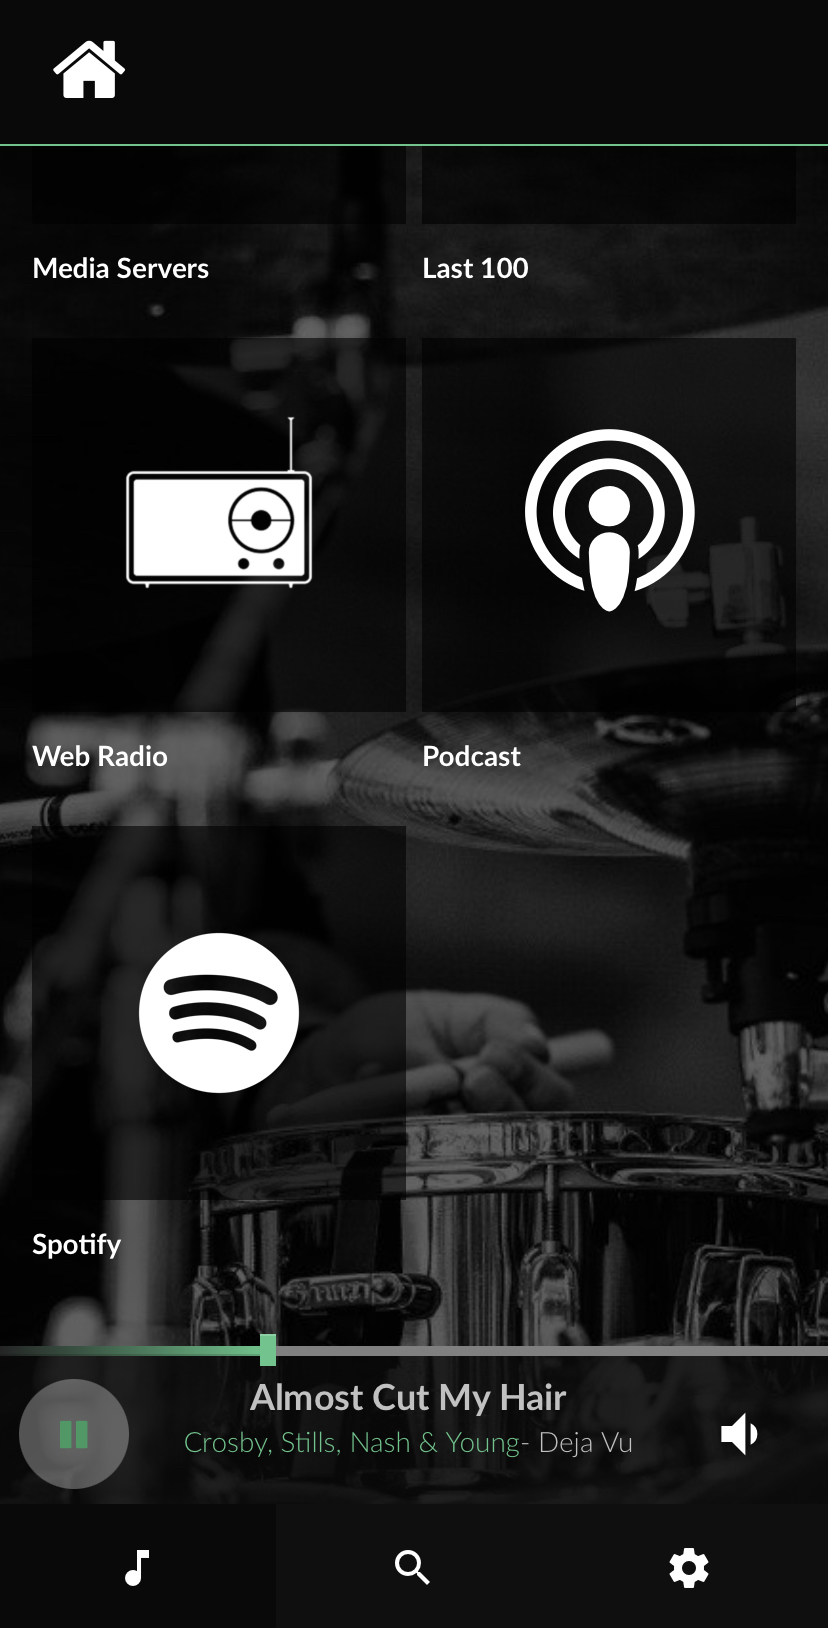
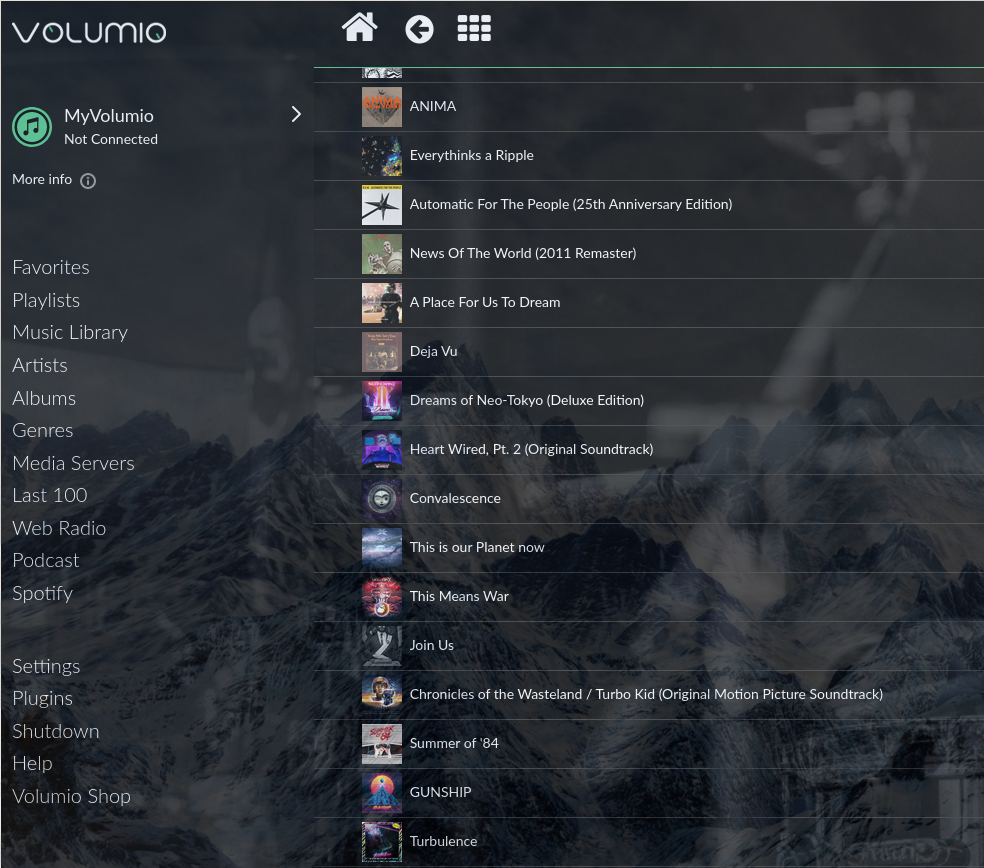
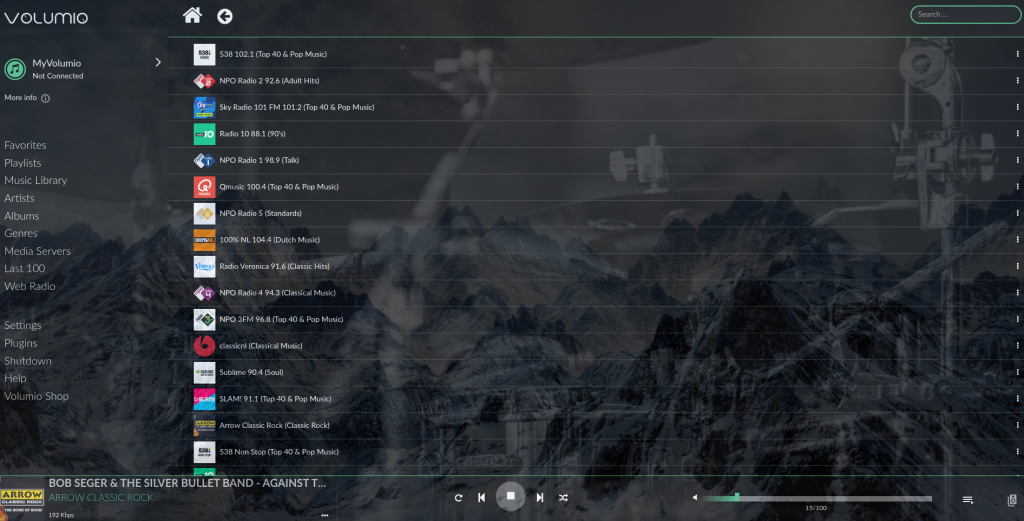
Alternatively, you can use the Volumio web interface to go through your music. You can do this by using your computer or your phone and typing in the IP or local address. Volumio also provides a free App (IOS and Android), which is scanning your local network for connected Volumio devices. I would definitely recommend to get the most out of the Volumio software by downloading and activating some additional plugins, such as Podcasts and Spotify.
Well, enough with the tutorial! Enjoy the music and impress your friends with your vintage radio! That is of course if you still have some friends after spending so much time on the project…